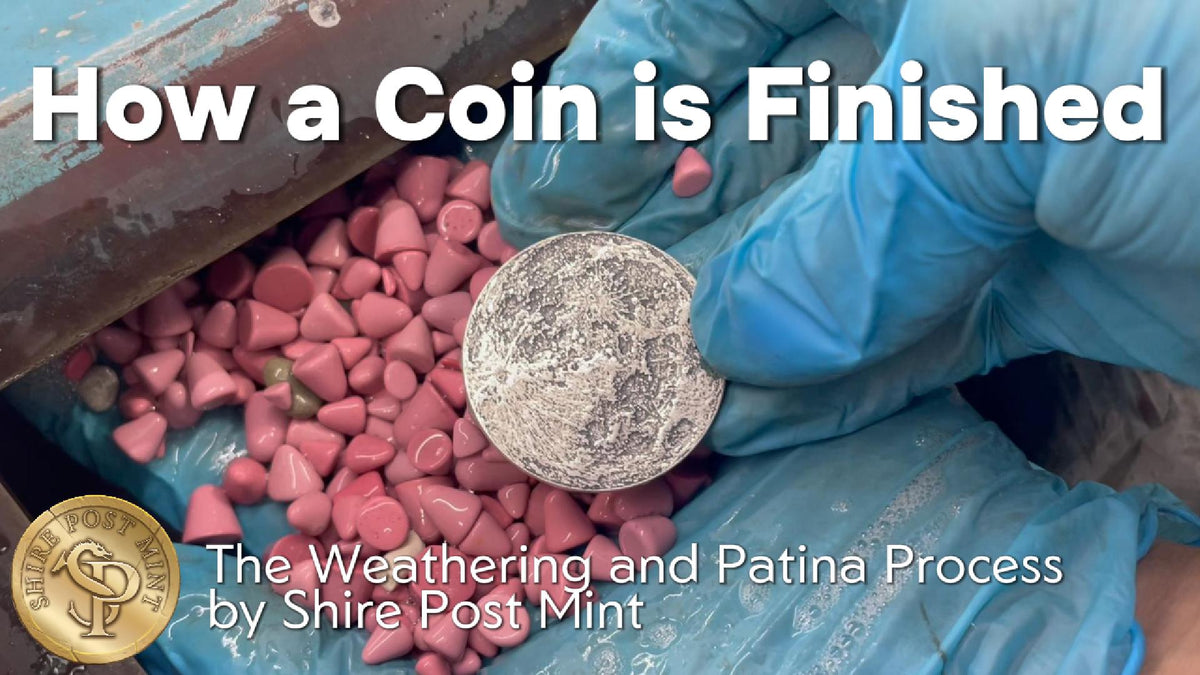
How a Coin is Finished
Let's take a deeper dive into the weathering and patina process!
Having been a coin collector for a long time, our founder Tom loves old coins with a natural patina and so we seek to achieve that in the majority of our work. Patina is a thin layer that forms on various metals, stones, wood furniture, etc. as the surfaces changes from age or exposure and can provide a protective coating to materials that could be damaged by corrosion. Most of the metals we work with will oxidize with time but we don't think it's a bad thing! Our favorite way to make coins is patinaed and worn, like something truly out of the pocket of a person living in one of the fantasy worlds we love. Most of our commonly-used metals share essentially the same process for finishing to get to this point.

[Left] Mint condition [Middle] Lightly handled [Right] Regularly applied patina
The Science of Different Metals
Most common solid metals will eventually tarnish over time unless protected against air and humidity (notable exceptions include pure gold, platinum, titanium, and stainless steel). In order to get to the desired color contrast and protect the coin surface, we will speed up parts of the oxidization process which can vary by metal.

Coins of different metals.
New condition on the left, frequently handled for several years versions on the right.
(All of these could be cleaned and polished if desired.)
For example, copper will react with oxygen in the air and create a two different copper oxides: cuprous oxide (red) and a cupric oxide (black), in the natural process of oxidation and being exposed to the environment you basically get a mix of those two colors which gives you a brown colored protective stable surface layer that is our patina. Depending on other conditions like high humidity, natural oils from skin, or acidic pollutants, this can progress into a blue/green color patina known as verdigris (think the Statue of Liberty). This colored oxidized layer actually protects the underlying metal below the surface, which is different from destructive afflictions like rust, zinc rot, or bronze disease. Since we use solid metals in our coin making we don't see the zinc pest (zinc rot) that you might see in modern pennies or other zinc-plated coins.

[Left] Mint Copper Hammered Worry Coin
[Right] Patinaed and then tumbled for contrast Hammered Worry Coin
Brass is an alloy of copper and zinc that has a bright gold-like appearance and is extremely versatile being corrosion resistant, easily workable, and durable. Brass is susceptible to oxidation because of the copper content. Oxygen, humidity, acidic materials like skin oils or environmental pollutants can all cause brass to oxidize, and sulfur compounds can contribute to a more rapid tarnishing of the brass surface. Green, blue, or brown tones can appear, but again it's a cosmetic change and does not inherently damage the integrity of the brass itself.
Bronze is an alloy of copper and tin that is harder and more durable than pure copper, and also is great for being resistant to corrosion and wear. It reacts similarly to brass forming a patina ranging from deep brown and black to blue and green. In contrast to the protective patina, bronze can be vulnerable to bronze disease, a damaging corrosion similar to rust caused by corrosive copper chloride salts + moisture. If not treated, bronze disease can completely destroy an object and despite the name it can affect any copper-bearing alloy.
Silver has a high luster and malleability that make it great to work with and carries greater value for collectors. Silver oxidizes with trace elements of sulfur in the air and creates silver sulfide also known as tarnish (technically it's sulfidation and oxidation is a misnomer as the metal is reacting with sulfur and not oxygen, but it's the common industry term).
Iron gets a specific black oxide coating which is both decorative and protective, to prevent rust which is historically the reason why iron coins never were as popular as silver or gold. This is the same reason why we don't drill holes into finished iron coins to make them into charms - it would just rust outwards from the exposed metal and eventually destroy it.

Iron Dual Stave with a black oxide coating
Stainless steel gets darkened in the furnace with what is known as a heat patina. We use a nickel-chromium stainless steel which gets a darkened blueish gray patina after being heated over ~1000 degrees. This is due to the high temperatures causing the chromium and other metals in the stainless steel alloy to react with oxygen in the atmosphere to form a thick layer of chromium oxide. The thickness of this oxide layer determines how it reflects light and at higher temperature a thicker oxide layer forms which absorbs more light, causing the surface to look dark blue or black.
Titanium forms a thin, strong, inert film called titanium dioxide that makes it highly resistant to corrosion and will maintain its original luster and color. It's inert nature means it is hypoallergenic and doesn't react with skin, in addition to being strong and lightweight, properties that make it ideal for jewelry applications. In order to apply color to it, we anodize!
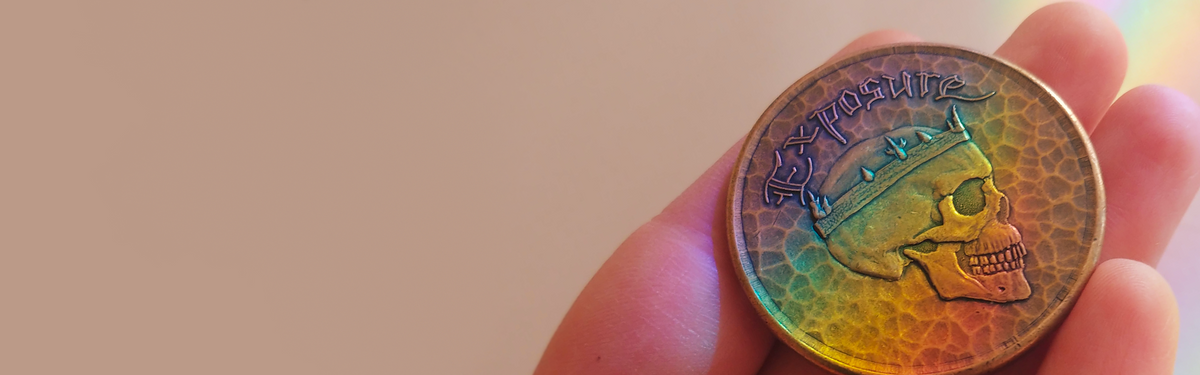
Anodizing is the electrolytic process by which we change the perceived color of the coin and can only be done with specific metals, like titanium and niobium. Niobium is used often in jewelry as a hypoallergenic alternative to nickel, with a Mohs hardness rating similar to titanium. During anodization, the coin is immersed in an acid bath and connected to a positive charge, an electrical current increases the thickness of the transparent refractive oxide layer sitting on top of the metal surface. The thickness of this oxide layer changes the way light reflects off the surface and that interference is perceived by our eye as different colors. Similar to a cd rainbow - light goes in and gets trapped except for a specific wavelength that bounces out. With this process, the coin itself isn't actually changing color or physically depositing a different metal onto the surface like in electroplating, but is actually finely controlling the oxidation process which is part of the metal itself.
Midway through anodizing Memento Mori
You can generally polish a coin back to your desired luster later. However, we don't recommend cleaning your other collectible numismatic/historic coins as it can lessen the value for collectors - for valuable old coins, the patina is generally a desired element.
The Design
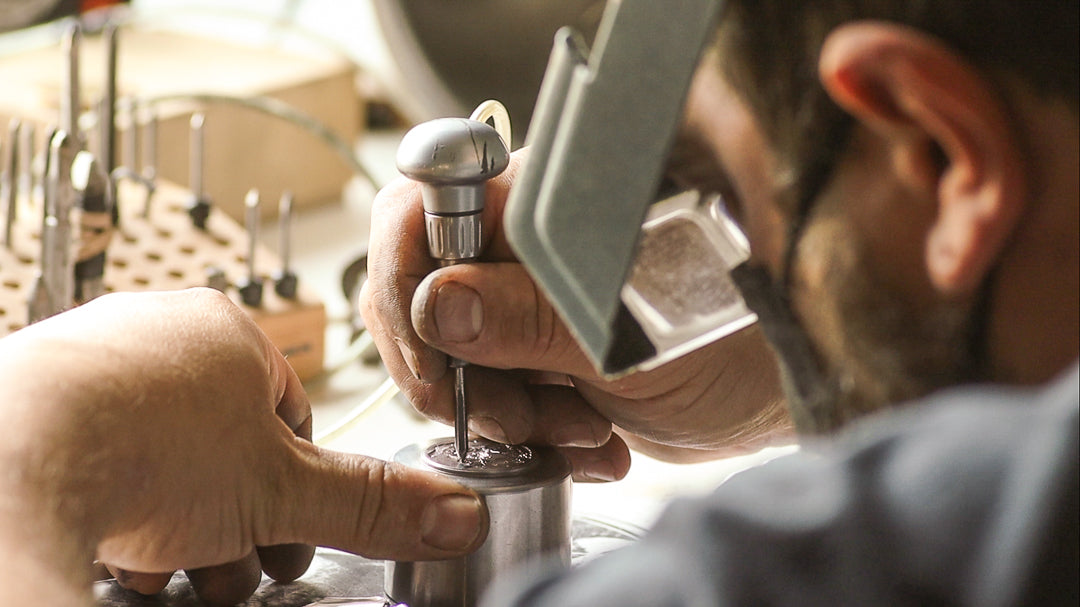
It sounds like it should be easy enough to accelerate the natural process of oxidation and wear, but a lot of forethought goes into making the coins look good early in the process! Sometimes when we get art it may look fantastic on paper or in mint condition, if you engraved it as is would come out looking wrong! In the engraving process, Woody is constantly thinking of what the final product should look like - visualizing the design in reverse 3-D for the die engraving and inverting parts of the design so that the final coin will show the dark parts in the low areas, the bright parts should be the highest parts of the design, and text readable and clear. This different way of visualizing depth and color is a skill that comes with practice and time!
Pre-Striking
After we've punched out the blanks, they are usually extremely sharp edged so they tumble for 6-24 hours with abrasive media to remove the sharp edges (deburr) and imperfections from the surface before striking. Some blanks get annealed (heated and then cooled slowly) to be made easier to work.
Mint Condition
When a coin first comes out hot off the press striking, it's mint condition and shiny. Mint condition for coins means original luster, as though it just came off the line with no scratches or marks. Coins that will be left in mint condition are only washed before the first burnishing tumble to get extra shiny and less sharp so it's safer to handle, before being dried and handled carefully with gloves before packaging. Mint coins are often placed in a coin capsule or slab by their owners to protect it from changing colors from oxidation or fingerprints.
Occasionally we will leave a coin mint, but our generally desired outcome is a coin that looks really used and lived with, telling the story of the place it came from. These would be like real coins - darkened with age, worn with use, and imperfect as coins made with old technology often were. (see ancient Roman coins for some great examples of misstruck coins). But we also want them to be hardy and long lasting so we take additional steps to protect the coins based off of their metal type and speed up the patina process which forms a protective layer over the metal of the coin.

Mint Silver Moon hot off the press
Tumbling
The first round of tumbling is for burnishing - a surface finishing cold-working process of repeatedly striking a surface to compress it into a smooth shiny surface. This tumbling is with a Liver of Sulfur compound, a well-known commercial preparation for darkening metals, which is applied to the coins to mimic the patina of a truly old coin. This speeds up the natural oxidation process and makes the coins uniformly dark. We've gone through a number of different processes, which were more inconsistent batch to batch or flaked off in parts. Different metals require different concentrations. Liver of sulfur must be warm but not boiling. It must be dispersed evenly throughout the tumbler over time. The tumblers themselves are large rotary drum barrels, each weighing 20-30 pounds empty and costing about ~$1,000 per, requiring the occasional relining of the rubber if damaged. The rubber allows the tumbling media and coins to bounce around and off each other as the drum spins, which both work hardens the surface of the coins with repeated impacts, erodes sharp edges, and applies the liver of Sulfur solution. We use a stainless steel burnishing media for this step which is durable, chemically inert, and corrosion-resistant.

Darkened after the first tumble
The second round of tumbling is primarily to enhance the contrast - just how pocket wear will show on a real coin, it wears away the blackened layer along the high points to show the metal color underneath, leaving the darkened low parts. This part of the process brightens parts of the coin, increasing contrast and highlighting the design. The whole tumbling process takes hours, mixing with tumbling media and burnishing fluid (which is like a mildly acidic soap) to wear away any sharp edges potentially left after the strike to make it safe and satisfying to handle, clean the surface, and to make the exposed metal shiny and lustrous.

Waxing and Waiting
After tumbling, the coins are washed with water and thoroughly dried before they are waxed. The clear wax provides an additional thin protective coating over the finish to preserve it. This keeps the coin essentially "shelf stable" while it awaits being packaged. We don't want the coin to change any further from this point until it gets to its final owner. With significant wear over time, this protective layer may be worn away and the color may change on your coin due to increased oxidation, which again is not necessarily a bad thing! A natural patina will develop over time with use and gives a coin character, which can always be cleaned and polished if desired later.

Waxing the coins
Storage
We use acid and sulfur free pH neutral paper envelopes for coin storage in packaging so the patina remains unchanged while it lives on the shelf, waiting to be shipped to its new owner. Some folks like to store their valuable coins in archival plastic sleeves, coin capsules, or plastic slabs, but we love when people carry our coins around with them.
Eventually with sufficient wear and physical contact, your coins will change along with you and the environment. The unique marks and color speak to the life the coin has lived. We hope that when someone holds it, they can feel a deeper connection to a "sense of place" and appreciate its history and craftsmanship.
Links
If you want to watch this finishing process, check out our video here!
To see a deep dive into how a die engraving is made click here!
To see the whole process click here!
All these coins and more are available on our website www.shirepost.com!